Painting Over Wallpaper
How To Paint Over Wallpaper The Quick & Dirty Way
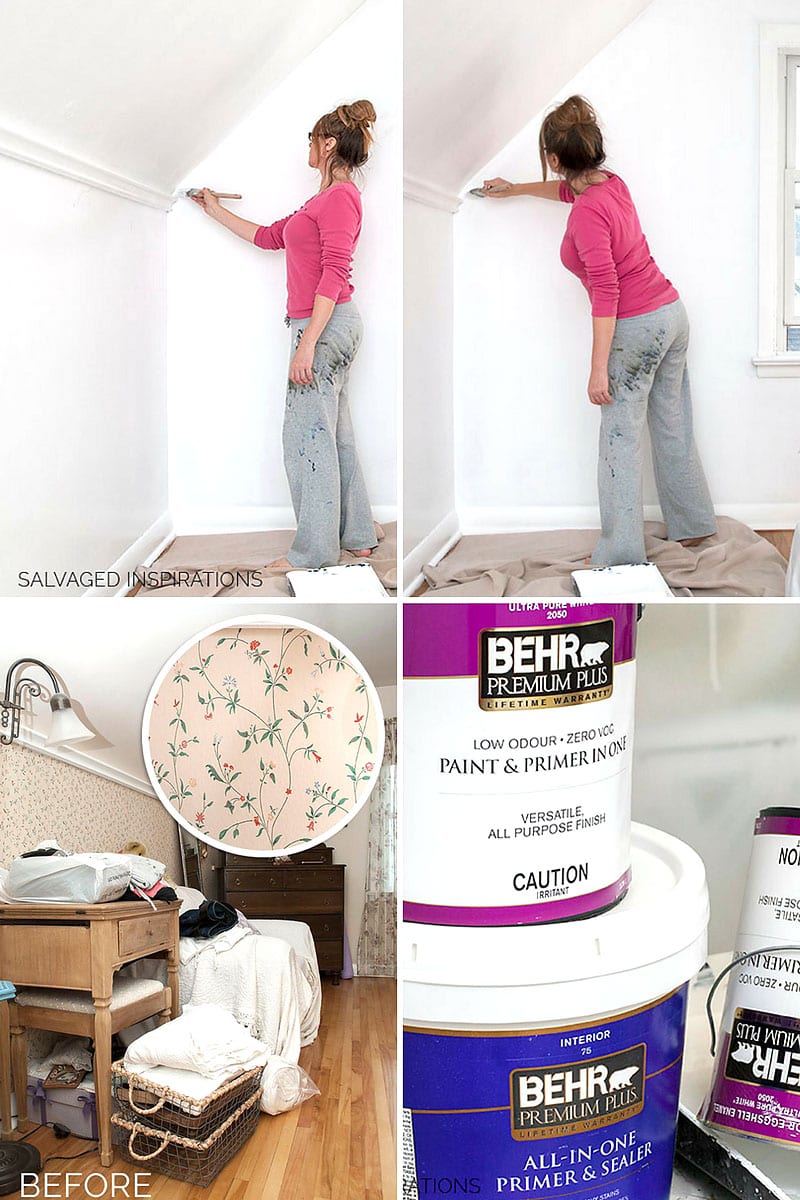 Hi guys! I hope your week is going well and you’re not on a sugar crash from eating all that Halloween candy. 🙂 I couldn’t keep my hands off the Reese’s Peanut Butter Cups – anything with nuts and chocolate is my very favorite.
I FINALLY finished painting my bedroom and thought I’d share a painting tidbit you may find useful. If you have dated wallpaper in your home, but the thought of spending hours stripping it off paralyzes you from taking action (like it did me!), hopefully, this post will give you some hope.
Here’s a quick and dirty way to paint over wallpaper! This method can be used for painting wallpapered furniture too.
If a wall had numerous layers, or possibly the drywall underneath is not in the best of shape, painting over the wallpaper may be the better and faster option. In my case, I plan to do some sort of wall treatment over it, possibly shiplap or faux brick.
Let me backtrack. When I bought this home, the upstairs bathroom walls were decked out with ducks. Yes. Ducks. I’m a full-blown nature lover, but duck wallpaper is not my style. For a quick and dirty fix, (it was seriously a spontaneous spur of the moment thing because I couldn’t take those black eyes staring at me every time I was in there) I grabbed some yellow paint and painted over my feathered friends. That paint job has lasted over 12+ years and honestly looks the same as the first day I painted it. Was it the ideal solution – probably not. But it did the job.
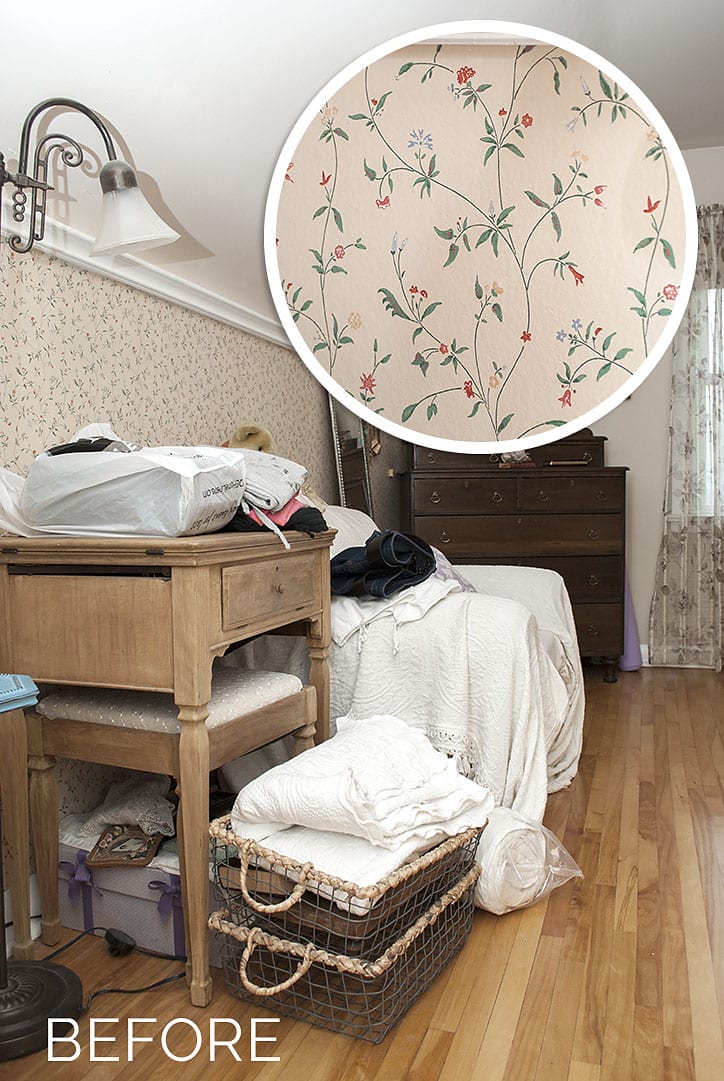
Fast forward to my bedroom makeover. This wallpaper has been up for years. The previous owners installed it so I’m guessing well over 30 years.
 THIS POST CONTAINS AFFILIATE LINKS TO PRODUCTS USED. YOU CAN SEE MY FULL DISCLOSURE HERE
The ‘right’ way to paint over this wallpaper is to sand the seams, remove the dust, and then use an oil-based primer to seal the paper before painting with a water-based paint. I didn’t sand the seams, and I didn’t use any oil-based products.
SOURCE LIST::
- Shop-Vac
- Drop Cloths or Old Sheets
- Paint Tray & Roller
- Paint Brush
- Shop Towels
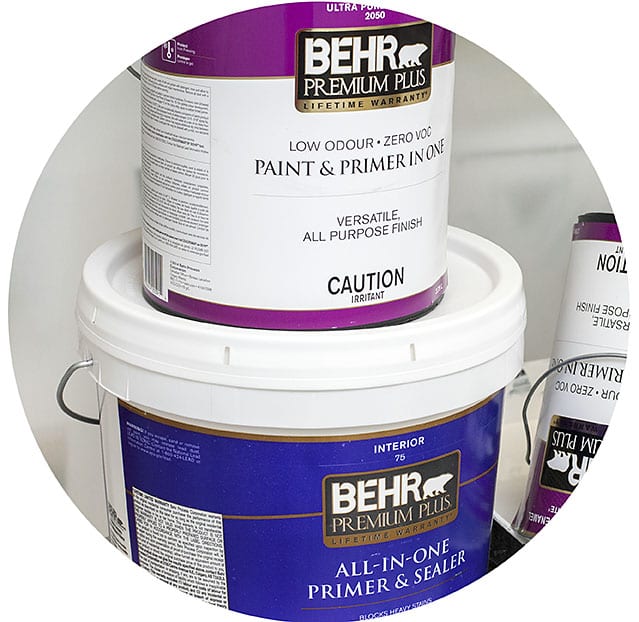
- Behr All in One Primer Sealer
- Behr Premium Plus Paint & Primer in One – Pure white no color added
The Quick & Dirty Way To Paint Over Wallpaper::
- Vacuum to remove dust
- Protect floors and furniture with drop cloths
- 2 Coats of Behr All in One Primer Sealer (Home Depot)
- 1-2 Coat of Behrs Premium Plus Paint & Primer in One (Home Depot)
These are all water-based product – not oil based.
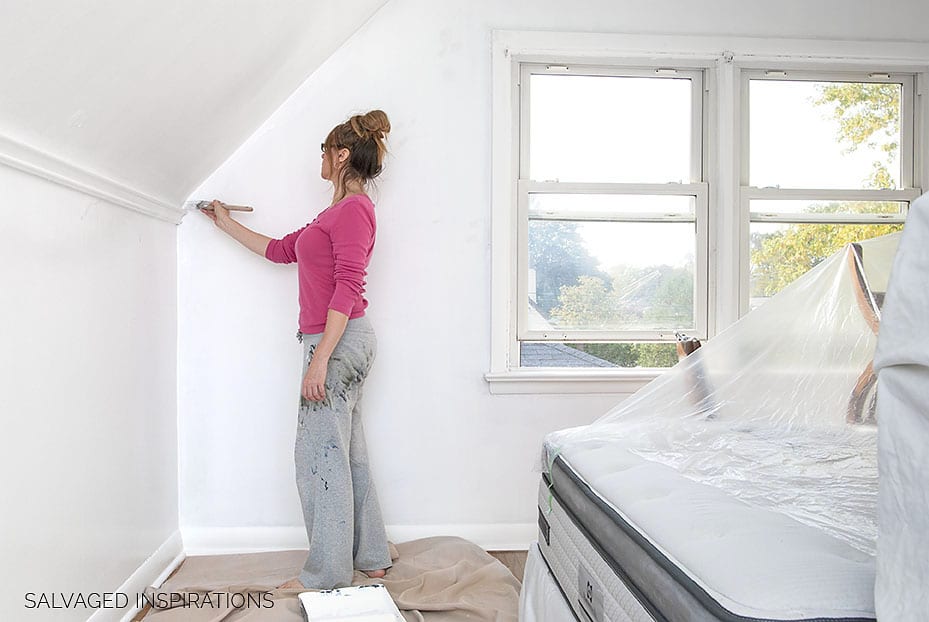
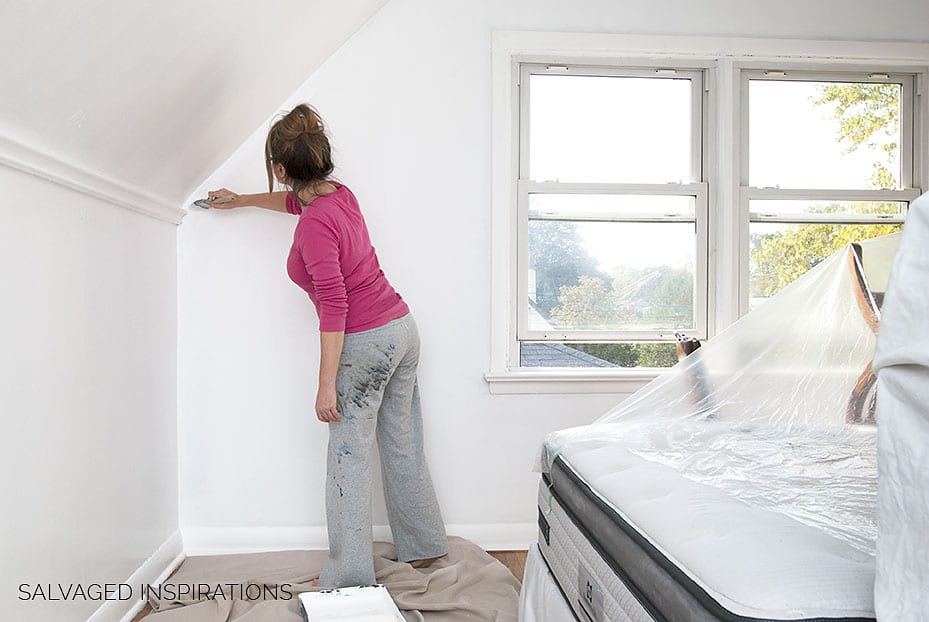
Now that it’s all painted out, I can decide if I want to add beadboard, barn wood, shiplap, faux brick, or stencil. I’m not sure yet. If you have any suggestions, feel free to chime in. 🙂 In the meantime, it looks fresh, clean and updated. I’m so happy I don’t have to look at that old wallpaper anymore!!!
So YES, you CAN paint over wallpaper. Is it the ‘best’ solution – NO. Is it the ‘lazy’ way out – YES. Will it last – YES. Does it look as ‘professional’ as painted drywall – NO. But what I can tell you from my own experience, I’m really happy with the outcome. As I mentioned, this is the second room I’ve done and I wouldn’t hesitate to do it again.
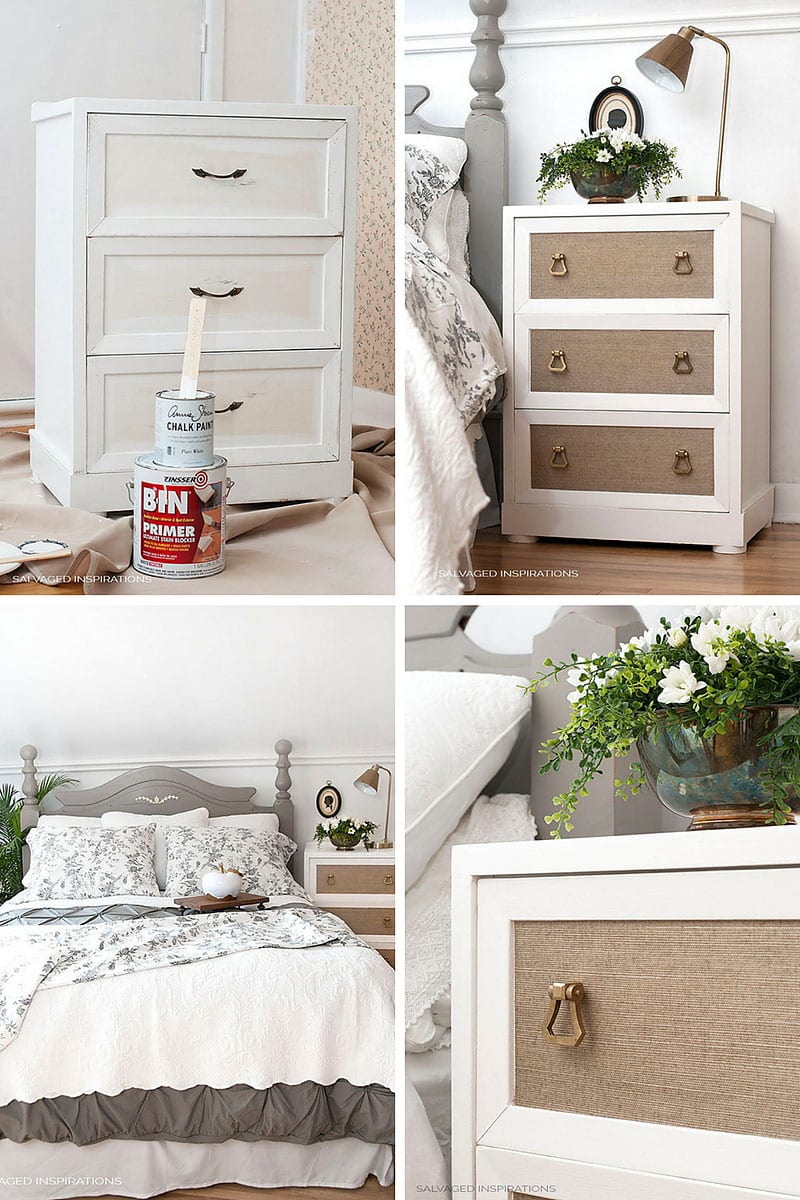
Bedroom Makeover – Previous Posts::
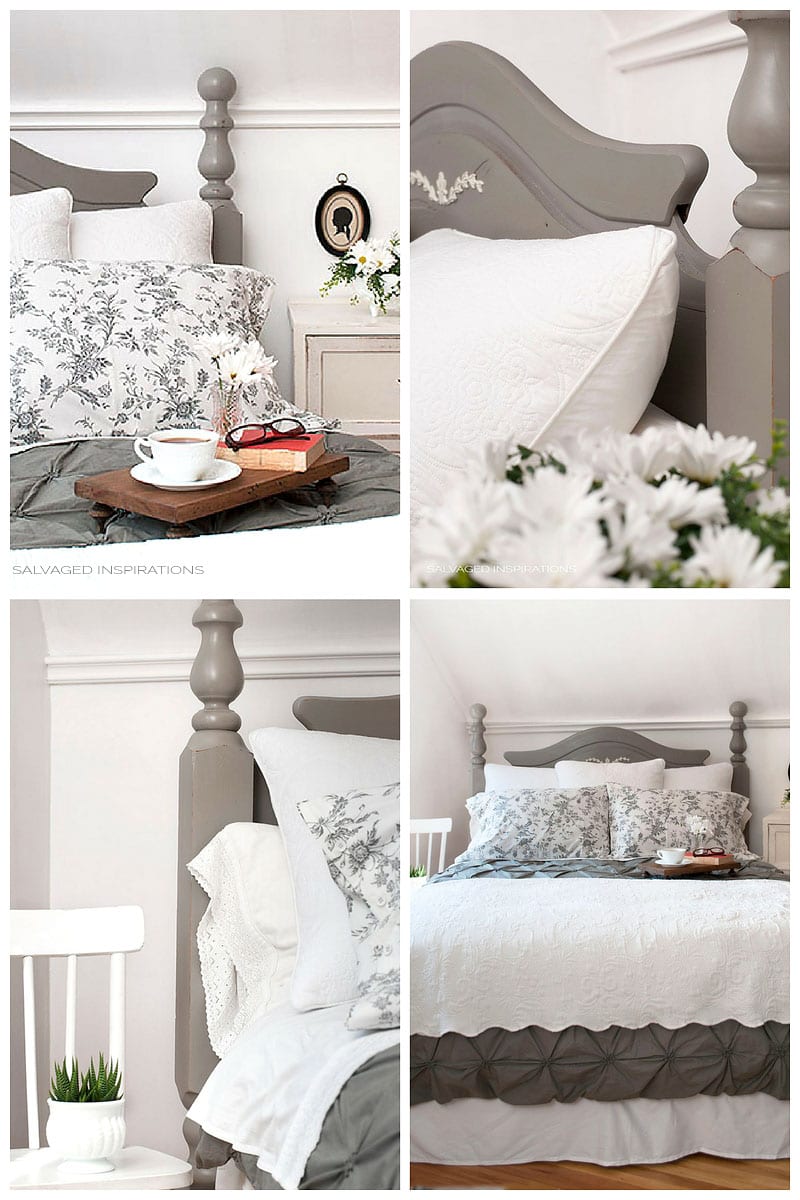 Annie Sloan French Linen – 80’s Headboard Makeover
From Bob Villa:
How To: Paint Over Wallpaper
Are you sick and tired of your old wallpaper? Before you go to the trouble of stripping it off, consider covering it with a few coats of paint. Read on to find out how to do it and to figure out whether painting is the right solution for your walls.

Photo: shutterstock.com
Looking to redo a wall that has been papered? If you weren’t the one to put up the existing layer wallpaper, any number of imperfections—from nail holes to degraded plaster—may lurk underneath it. Another ugly truth: The wallpaper you see may, in fact, be only the top layer of several applications. It’s hard enough to remove one layer of wallpaper, let alone multiple layers.
If you have no plans to move, it may be worth the effort to strip away the paper entirely and work with what’s underneath. But if you need a quick fix, you can actually get good results by painting over wallpaper!
RELATED: 11 Problems You Can Solve with Paint
You can achieve a brand-new look with a minimum of hassle. Follow this set of steps for how to paint over wallpaper.
Photo: shutterstock.com
STEP 1: Clean the wallpaper-covered walls with diluted TSP.
Painting over wallpaper successfully requires proper preparation. This may involve the counterintuitive task of repairing or replacing loose or missing sections of the wallpaper. At the very least, prep work here requires cleaning the walls with trisodium phosphate, a chemical better known as TSP.
TSP is such strong stuff that it must be diluted. Mix it with water in a bucket, aiming for a ratio of one half-cup for every two gallons of water. Closely follow the manufacturer’s usage directions, including the labeled safety warnings. Adequately ventilate the room in where you’ll be painting over wallpaper, and don’t forget to wear protective gear.
TSP can be applied with a sponge or even an extra paintbrush. Once the TSP has dried, use a damp (but not dripping wet) rag to remove the chemical from the wall. Tread carefully. Too little water and you may not get the chemical off, thereby compromising the paint’s ability to adhere. Too much water and you run the risk of damaging the wall.
STEP 2: Add extra adhesive beneath the paper’s top and bottom edges, then prime.
If you’ve gone to all the trouble of painting over wallpaper, peeling layers are the last thing you’ll want to see. One way to prevent peeling is to apply an adhesive compound where the wallpaper is most vulnerable—at the seams where it meets the ceiling and floor.
An even better approach is to finish the right way: coating the wall with a combination primer-sealer after painting over wallpaper. Not only does primer-sealer minimize the chances of peeling, but it also provides a surface to which the paint can readily adhere. Use an oil-based primer-sealer, not a water-based product; after all, water and wallpaper don’t mix.
STEP 3: Wait for the primer to dry before painting over wallpaper.
Once the walls are clean and you’ve applied the primer-sealer, give the walls enough time to dry. Check the can for exactly how long the manufacturer suggests to wait.
STEP 4: Apply your first coat of oil-based paint.
You are now ready to begin painting over the wallpaper. Whether or not you choose to seal and prime, be sure to opt for an oil-based paint when you’re ready to coat the walls.
Approach the job as you would any other painting project: Use a paintbrush to cut in at the corners and along edges, then let the roller do the rest. You’re probably going to need a couple of coats to cover any patterns when painting over wallpaper.
STEP 5: Let dry completely and complete a second coat.
Let the first coat dry completely before you proceed to the next one. During the interim, consider sanding the wall. It’s tedious, yes—less so if you own a power sander—but sanding minimizes imperfections and could greatly improve the finished appearance of your work. Either way, the very last step is to paint the top coat. When you’re finally finished, stand back and admire the difference. Where once there had been wallpaper you had tired of, you’ll now see gleaming, freshly painted surfaces!



Leave a Reply